How to Recondition a Car Battery? [Full Guide!]
Our cars rely heavily on their batteries, with this compact box of energy being the lifeblood that powers everything from the engine to the electronics. Over time, however, batteries lose their capacity and efficiency due to various factors.
You might be tempted to buy a new car battery if your current battery is old, doesn’t hold the charge or stops working. But, don’t rush off to buy a new car battery. You might want to consider the option of reconditioning your existing one! It can be a cost-effective and environmentally friendly option if done correctly!
In this article, we will cover a detailed step-by-step process of reconditioning and revive your dead car battery! You’ll find this guide useful irrespective of whether you are a seasoned mechanic or a novice car owner!
Check Out This Dead Simple Trick That Brings ANY Battery Back to Life! (Never Buy Batteries Again!)
What is Battery Reconditioning?
Battery reconditioning is a process that helps restore your battery back to its optimal condition, thereby extending its lifespan and saving you from the immediate expense of a replacement.
By reconditioning a battery, you are able to restore a battery to its original, fully functional state, or as close to it as possible. This process is especially applicable to rechargeable batteries such as lead-acid batteries used in cars and other vehicles, but it can also be used on other types of batteries.
When a battery is used, chemical reactions occur that enable it to provide power. Over time, these reactions can cause the accumulation of deposits or other changes inside the battery that hinder its performance.
In the case of lead-acid batteries, for instance, the repeated charging and discharging can lead to the formation of lead sulfate crystals that decrease the battery’s ability to hold a charge – a process known as sulfation.
Reconditioning typically involves several steps designed to reverse these changes and restore the battery’s performance. This might include fully discharging the battery, cleaning the terminals, refilling the electrolyte, and performing an equalization charge to break up any sulfate crystals.
In many cases, a successfully reconditioned battery can provide many more months or even years of service!
Reconditioning your existing battery can easily save you $100 or more as compared to buying a new battery! It is a great way to save money!
Safety Precautions and Tools Needed
To recondition a car battery, you’ll need some specific tools and materials. I’ve already linked to some of the tools needed in the process in the next section. However, here’s the complete consolidated list of all the materials needed:
Please note that all the products are linked to Amazon for your convenience.
- Safety Gear:
- Safety glasses: to protect your eye from any chemical splatter
- Acid-resistant protective gloves: to prevent any acid from falling on your hand
- Apron: to prevent any electrolyte or acid from falling on your clothes
- Battery Charger: A good quality battery charger is a must-have tool.
- Multimeter: This is used to measure the battery voltage and ascertain its condition.
- Distilled Water: If the electrolyte level is low, distilled water is used to top it up.
- Baking Soda and Water: A mixture of baking soda and water is used to clean any corrosion off the battery terminals.
- Battery Terminal Cleaning Brush: Also known as battery post cleaner. It is used for cleaning the battery posts and clamps, and the terminals.
- Epsom Salt
- Funnel and Dropper: Used to safely add distilled water or electrolyte solution to the battery.
- Plastic bucket: To remove all the electrolyte from the battery
- Battery Reconditioning Guide: A full detailed step-by-step guide with videos to help you through the process
In addition to the aforementioned tools, make sure that the place you are conducting the reconditioning of your battery is well ventilated. Make sure that you don’t drop any of the acid from the battery onto the floor as acid from your battery can eat into the cement thereby damaging the floor.
Step-by-Step Guide to Reconditioning a Car Battery

Reconditioning a car battery is a fairly straightforward process, but it’s important to follow each step carefully. Here’s a general guide of the process:
Step 1: Identifying Battery Type
Before beginning the reconditioning process, it’s important to identify the type of battery you’re working with.
Most cars use lead-acid batteries, which can often be reconditioned. However, lithium-ion batteries, found in electric and hybrid vehicles, require a different approach and professional expertise. We are not going to cover the reconditioning process for the lithium-ion batteries in this article.
Step 2: Inspection of the Battery
Start by turning off the car and disconnecting the battery. Remove the battery from the vehicle and inspect it for any visible damage such as cracks or leaks. Also check if the car battery has any bulges in any place. If you find any, it’s safer to replace the battery.
Step 3: Cleaning the Battery
Clean the outside of the battery to eliminate any dirt or corrosion. It is important to wear proper protective gloves like this one on Amazon.
Mix a solution of baking soda and water (two tablespoons of baking soda per liter of water) and apply it to the battery and terminals. You can use a toothbrush to apply and clean the battery.
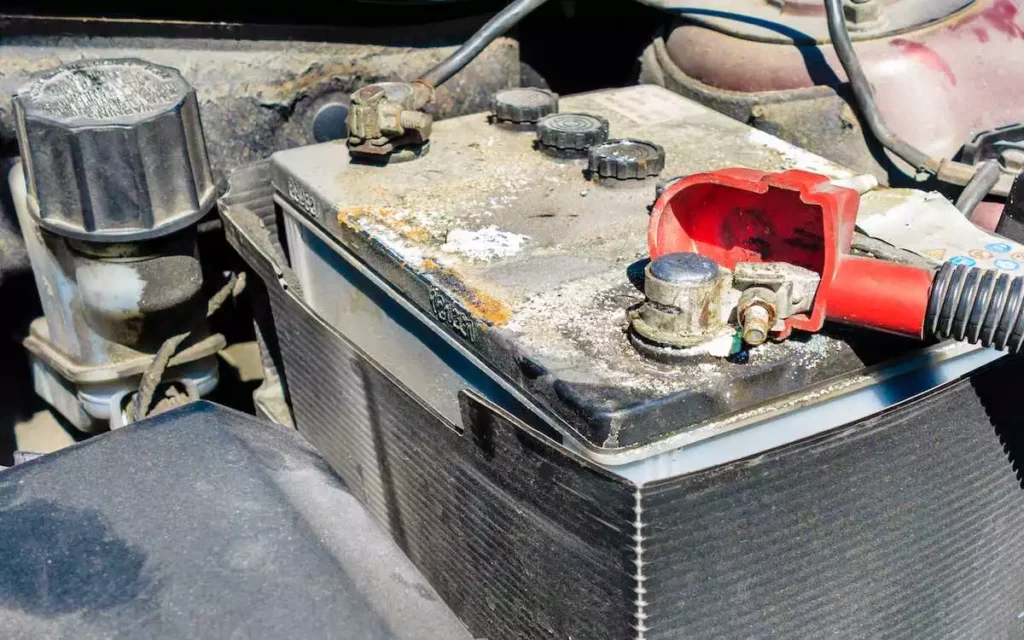
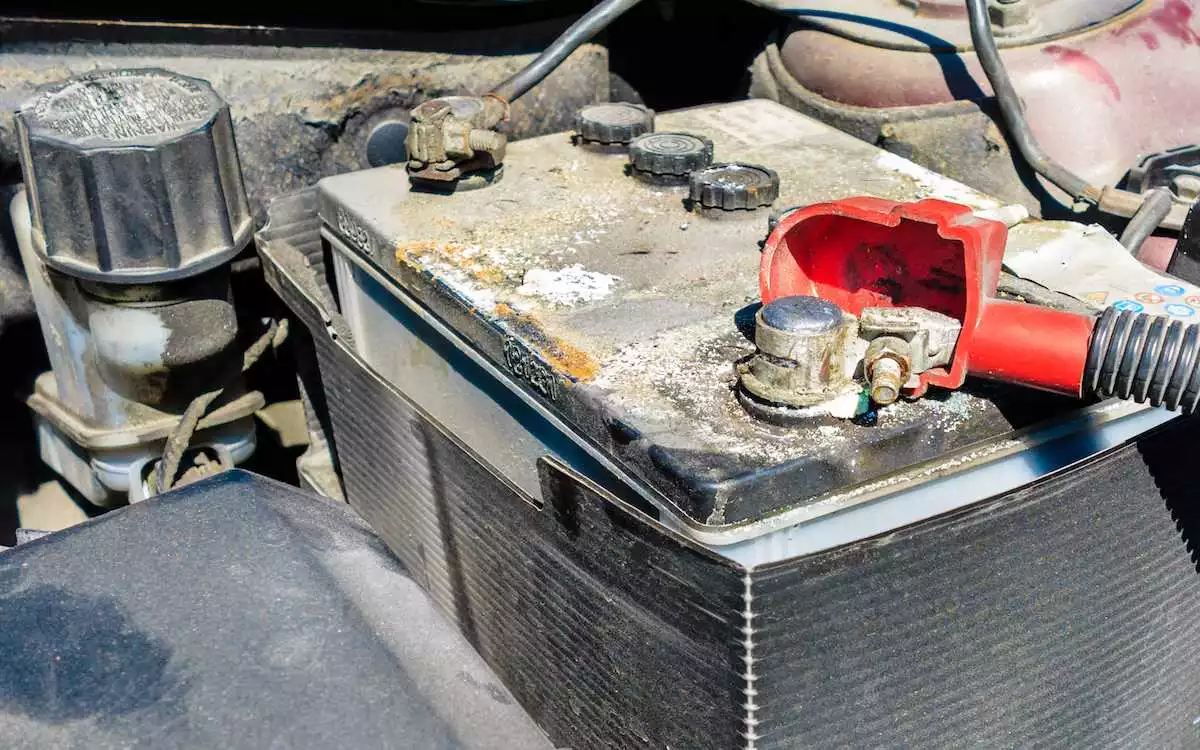
The terminals of the battery can have corrosion. For cleaning the corrosion from the terminals, use a battery terminal cleaning brush (on Amazon). Rinse with clean water and dry with a cloth or air dry.
Step 4: Battery Charging & Voltage
Sometimes, you might notice that just by cleaning your car battery and removing the corrosion on the terminals, the battery may retain its capacity.
Connect your battery to a trickle charger (from Amazon) and let it charge slowly. An overnight charge is usually sufficient. It’s critical not to rush this process; faster charging can lead to overheating and potential damage.
Once the battery has been left to charge overnight, check if the battery is able to retain the charge.
To test the voltage, get a voltmeter. It will have two wires: black and red. Connect the red wire to the positive terminal and black wire to the negative terminal. If your battery is fully charged and in good condition, the voltage on the battery should show 12.6 V or more.
However, if you see that the battery shows a voltage of 12.4 V or less despite fully charging it overnight, it means your battery needs reconditioning.
Step 5: Removing Electrolyte Solution and Battery Cleaning
Ensure you have a bucket on standby to collect the spent electrolyte solution, as well as a dilute baking soda solution to counteract any accidental spills during the process.
Utilize a flat-head screwdriver to detach the battery caps, then keep them in a separate container for safekeeping. Carefully lift the battery to drain the old electrolyte solution into your prepared bucket. In the event of any spills, promptly douse the area with a generous amount of the baking soda solution to neutralize the spill.
Neutralize the spent battery acid in the bucket by either adding half a pound of baking soda powder or pouring in a 3:1 solution of baking soda and water. Refrain from discarding the neutralized solution at this time.
To clean the battery plates, prepare a solution of baking soda and water in a 1:1 or 2:1 ratio. Once prepared, fill each cell of the battery to the maximum level with this solution and reseal the battery with its caps.
Give the battery a shake for about a minute. Then allow it to sit for five minute to enable the cleaning reaction. Afterwards, uncap the battery, empty it, and decant the baking soda solution into the same bucket.
You can leave the empty batteries up-side-down for a while for the solution to completely drain from the battery.
Step 6: Reconditioning the Battery
The next step of the process is the recondition the battery. For this, you will need to prepare a new electrolyte solution.
You can use epsom salt and distilled water to create the new electrolyte solution. Mix about 1 pound of epsom salt in a gallon of water. You can heat the distilled water on low temperate while adding the epsom salt. This will allow the salt to mix properly into the water.
Once you’ve made the salt solution, pour it into each battery cell until they are full, then put the caps back on. After you’ve filled all the cells, your battery is now set to be recharged.
Step 7: Second Charging and Testing
After reconditioning, charge the battery again in slow mode using the trickle charger. You can set the charger at 2 Amps for 12 V, and let it sit for 24 to 36 hours.
Once the battery has been charged, you can test it again with a voltmeter or a multi-meter. Like before, place the black cable on the negative terminal and the red cable on the positive terminal of the battery.
A fully charged battery should show a voltage of around 12.6 volts or more. If the voltage is lower, you may need to repeat the previous steps or consider replacing the battery if its performance doesn’t improve.
Remember, safety should always be your top priority when reconditioning a car battery.

Troubleshooting Common Problems When Reviving Your Dead Car Battery
Even with careful execution, you may run into issues when reconditioning a car battery. Here’s how to address some common problems:
1. Battery Won’t Hold Charge
If the battery won’t hold a charge after being reconditioned, it may have a damaged cell. If after reconditioning, the voltage drops quickly from 12.6V to below 10V, it’s usually a sign that at least one cell is damaged. Unfortunately, this issue isn’t repairable and you’ll need to replace the battery.
2. Low Electrolyte Level
If the electrolyte level is too low, the battery might not accept the charge. In such cases, top up the cells with distilled water, then try charging again.
3. Sulfation
Sulfation occurs when a battery is left discharged for a long period of time, leading to the formation of lead sulfate crystals. These can inhibit the battery’s performance. To fix this, an equalization charge (as described in Step 6 of the reconditioning process) can often dissolve the crystals.
4. Inaccurate Hydrometer Readings
Hydrometers need to be used properly for accurate readings. If you’re getting inconsistent readings, make sure you’re drawing enough electrolyte into the hydrometer and that it’s free of air bubbles. Also, remember to clean the hydrometer between cells to avoid cross-contamination.
5. Voltage Doesn’t Increase After Charging
If the voltage doesn’t increase after charging, your battery may be suffering from a phenomenon known as “cell reversal,” typically caused by deep discharging. This is usually irreversible and means the battery will need to be replaced.
Understanding Car Battery Health

Understanding the health of a car battery is essential to maintaining its longevity and performance. Recognizing the signs of a failing battery can save you from unexpected breakdowns and allow you to rectify issues promptly.
Why Does a Car Battery Stop Working?
One of the major reasons why most car batteries stop working is sulfation.
Sulfation occurs when a battery isn’t fully charged over time, leading to the formation of lead sulfate crystals.
These crystals can cover the lead plates in the battery, inhibiting the chemical reaction that creates electrical charge. Sulfation can usually be reversed through reconditioning. However, if the battery has heavy sulfation (which can often occur over a period of several years of use) it can be a bit difficult to revive a battery.
Signs of a Failing Car Battery
Your car battery will often show signs of wear off before completely going kaput. Here are some common tell-tale signs that your car battery is not holding enough charge.
- Difficulty Starting the Vehicle: This is one of the most common signs of a failing battery. If your car takes more time to start than usual, or there’s a delay before the engine turns over, your battery might be on its last legs.
- Dimming Lights and Electrical Issues: If you notice that your headlights are dimmer than usual, especially during startup, or if you’re experiencing issues with other electrical components in your car, it could be a sign of a weak battery.
- Battery Warning Light: The most direct sign is when your car’s battery light illuminates on the dashboard. This usually indicates a problem with the battery or the alternator.
- Swollen Battery Case: If your battery’s case appears bloated or swollen, it might be due to excessive heat causing the battery to overcharge. A swollen battery case can decrease your battery’s lifespan and performance.
- Corroded or Loose Terminals: Corrosion or loose connections at the battery terminals can cause trouble in starting your vehicle. It can also interfere with the connection between the battery and the rest of the vehicle.
- Faster Discharge Rates: If your battery seems to drain faster than usual, sulfation could be the culprit. Sulfation can decrease the battery’s capacity, leading to faster discharge rates.
- Frequent Need for Jump Starts or Charging: If you frequently need to jump-start your car or recharge the battery, this could be a sign of sulfation. A sulfated battery will not hold a charge as well as it should, leading to a repeated need for charging or jump-starts.
When to Recondition vs. When to Replace a Car Battery
Generally, consider reconditioning if your battery is not excessively old, if it doesn’t have any physical damage, and if it hasn’t been regularly overcharged or deep discharged.
On the other hand, you should consider replacing your battery if it has one or more bad cells, if it’s heavily sulfated and doesn’t respond to reconditioning, or if it has physical damage like leaks or a bloated case.
Understanding the health of your car battery and recognizing the signs of failure can help you make an informed decision about whether to recondition or replace your battery
Tips to Extend the Life of a Reconditioned Car Battery
Reconditioning a car battery can extend its life and save you from the expense of buying a new one, but maintaining your reconditioned battery is just as important. Here are some tips to help prolong the life of a reconditioned car battery:
1. Regular Charging: Ensure your battery is regularly charged and avoid letting it drain completely. Regular use of your car usually takes care of this, but if the car isn’t driven regularly, consider using a trickle charger to maintain the battery.
2. Avoid Short Trips: Short car trips can prevent your car battery from fully charging. Frequent, short trips may lead to a gradually depleting battery. If you only take short trips, consider taking a longer drive weekly or use a battery charger to maintain the battery’s charge.
3. Keep the Battery Clean: Keeping the battery clean can help prevent problems. Dirt and corrosion can interfere with the battery terminals and inhibit the connection, so clean the battery terminals occasionally with a mixture of baking soda and water.
4. Check Electrolyte Levels: For non-sealed batteries, ensure the electrolyte level is maintained. If it’s low, top it up with distilled water. Avoid overfilling, though, as this can also cause problems.
Pro tip: Check out this tutorial on how to bring your dead battery back to life and save a lot of money! This little known method is simple, quick and works for almost ANY battery out there!
5. Protect from Extreme Temperatures: Extreme cold or heat can damage a battery. If possible, try to park your car in a garage during very cold or hot weather. Using an insulating blanket can also help protect the battery from temperature extremes.
6. Turn off Electrical Components When Not in Use: Leaving electrical components like the radio, air conditioning, lights, etc., on when the car’s engine isn’t running can drain the battery. Make sure to turn off these components when you turn off your car.
7. Regular Maintenance: Regularly check your battery’s voltage to make sure it’s working well. A healthy, fully charged car battery should read about 12.6 volts. If it’s lower, the battery may be undercharged.
8. Watch for Signs of Battery Failure: Keep an eye out for signs of battery failure, such as a slow-starting engine or dimmed headlights. If you notice any of these signs, it may be time to recondition or replace the battery.


![Car Accelerating On Its Own? [Reasons & How to Fix!]](https://vehicleuniversity.com/wp-content/uploads/2022/10/car-driving-the-norwegian-national-road-64-known-a-2021-08-26-16-34-54-utc-768x511.webp)

![Car AC Cools For a While And Then Stops? [Mystery Solved!]](https://vehicleuniversity.com/wp-content/uploads/2023/01/girl-driver-with-hand-fan-suffering-from-heat-in-c-2022-11-15-04-07-09-utc-768x512.jpeg)
![Why Are Cars Called Whips? [Here’s the Truth!]](https://vehicleuniversity.com/wp-content/uploads/2023/01/car-drifting-2021-08-29-13-38-47-utc-768x576.webp)
![Does AC Drain the Car Battery? [With Test Results!]](https://vehicleuniversity.com/wp-content/uploads/2023/01/ac-ventilation-deck-2021-08-26-17-12-30-utc-768x576.webp)
